It’s not yet winter here in the UK, but it might be an idea to think about preparing for it!
There are quite a lot of links on Pinterest for projects that recycle your old clothes, rather than just throwing them out, or giving them to the charity shops.
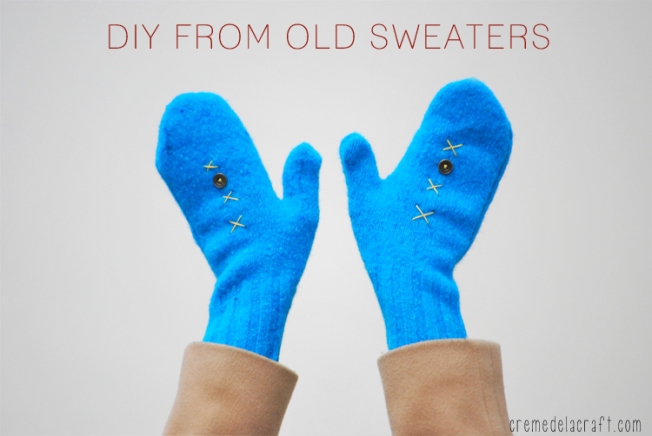
This is a very simple fun project for you to try, even if you can’t knit – and especially if you mistakenly ruined one of your favourite woollen jumpers by washing it on the hot cycle.
Actually – this is a process often used in craft projects – it’s called FELTING WOOL! You can use it for all types of woollen items to make a denser and stronger piece of fabric out of any knitted – or even woven – wool. It doesn’t work for knitted items made from other materials. As you will see, if you don’t already know (smile) – it shrinks the wool – the hotter the wash the smaller your jumper/sweater will come out – so do take care when washing wool you don’t want to shrink!
The short video below has been taken from Creme de la Craft, although there are various other sites that have instructions for the same process. They have used a plain coloured jumper, that you can decorate any way you like. Using patterned wool items can give you some very attractive mittens too!
You can also find lots of sites that use the felted wool for other projects – quite a lot of them for slippers too!
You will need:
Materials:
• 8-10 straight pins
• Embroidery floss matching the color of your sweater
• Sewing needle
• Buttons and additional embroidery floss for decorating
Instructions:
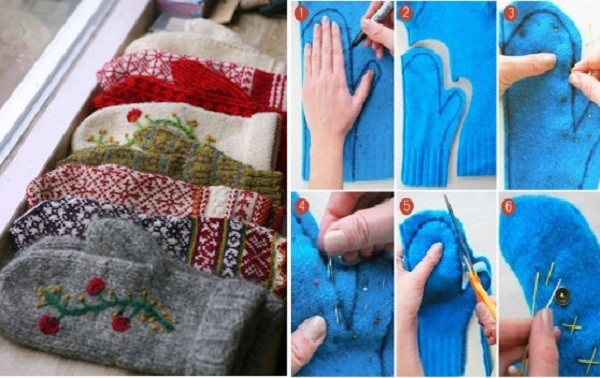
• Flip over + trace: Turn the sweater inside out and lay it flat on a table. Lay your hand on one of the side edges of the sweater and trace a mitten shape around it with a marker or pen. Add about a half-inch all the way around your hand to allow for seams. Leave about an inch or two at the bottom to create a cuff. Since the bottom of sweaters are already ribbed and finished, this creates a great cuff for the mitten.
• Cut: Cut out your traced mitten, leaving about an inch or two of fabric around it.
• Pin: Secure the front and back layers with several straight pins along the edges. This will ensure the two layers will stay even while you’re stitching.
• Sew: Thread your needle with embroidery floss and do a simple running stitch along your tracing. Make sure to leave the bottom of the mitten wide enough so that your hand can easily fit through.
• Trim: Trim about a quarter-inch around the stitching to remove the excess fabric. Be careful not to cut too close to the stitching, or it may fall apart.
• Flip: Now the fun part! Flip over the mitten to see your finished product.
• Decorate: Use buttons and colorful embroidery floss to decorate!
• Repeat: Repeat all steps on the opposite side of the sweater.
